|
ABS GLUE
ABS glue is a great addition to any 3D printer operator’s tool box. This slurry of acetone and ABS has many practical uses such as: Bonding small parts together to create larger or more intricate ones (it’s just a bit easier to apply than straight acetone) Improving the surface finish of your part (simply paint it on or dip your part into it) Mending cracks in your parts (if you don’t feel like reprinting/redesigning them) How to make ABS glue: Use a small glass jar with an air tight lid. You can find these at most hobby shops. Empty nail polish bottles work too, but they’re kind of small. Fill about half way with straight acetone (or however much you’d like if you’re using a larger jar). Add ABS. ABS takes time to completely dissolve in acetone, so the smaller bits you use the quicker the results. We like to simply print a 1-layer thick square sheet (or just start any print and stop it after the first layer), and then cut it into pieces. Snipping small pieces off the end of your filament works too, but it’ll just take more time to dissolve. Wait and stir. Repeat until all the ABS is dissolved. There’s no perfect ratio of ABS to acetone. Just use less ABS to make a thinner solution (great for surface finishing) or more ABS for a thicker solution (great for bonding or mending parts).
1 Comment
3dprintersonlinestore is online portal for personal and professional 3d printers. They are selling
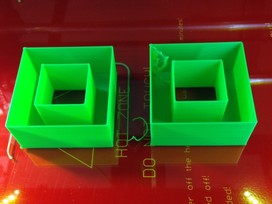
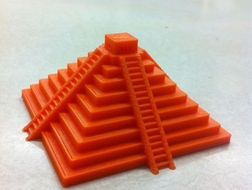
3d printers from the top brand manufacturers to Global customers. We would like to present an overview of one of the best 3d printer from 3dprintersonlinestore. Geeetech Me Ducer. It is 6th generation of geeetech 3d printers. Perfect 3d printer for Home and office purpose. Small in size and weight, easy to carry anywhere like laptop. generation of geeetech 3d printers. Perfect 3d printer for Home  Little particles on the Inside Corners I’m not sure what to call this phenomena, but basically little particles form on the inside corner(s) of your print and create a little worm-like structure along with some stringing. The example pictured on the right is printed with the same settings as you would choose for a vase: zero infill, zero top layers. However, there is an additional structure in the middle of the part. Solution: In Slic3r configuration under Print Settings > Infill , uncheck “Only retract when crossing perimeters.” What happens is Slic3r thinks that the nozzle is still within a filled layer even though infill is set to zero, and doesn’t recognize that you want two clean and distinct boundaries.  REMOVING A PART FROM YOUR PRINT BED Problem: “I can’t remove my part from the build platform.” Sometimes, a part can be stuck to the print surface really well and you’re unable to get good leverage to pop it off. When printing a pyramid shape, it’s even difficult to get at it with conventional tools. Here are a few tips:
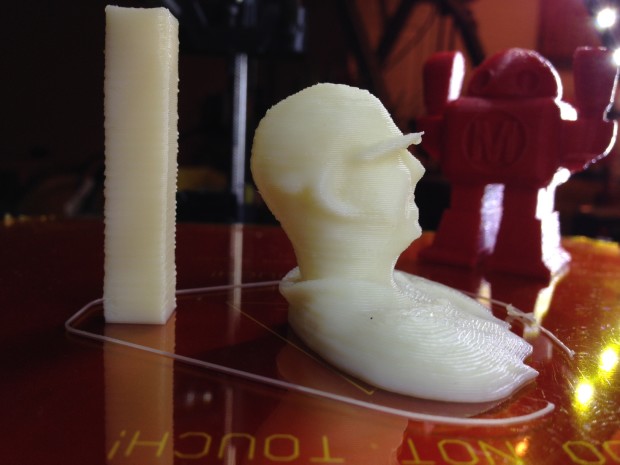
What is the diffrent between 0.1mm and 0.2mm layer height ?
here is the result . I zoom in with DIY microlens + iphone 5s this actual size is around 2cm.  PRINTING LARGE OR UNIQUELY SHAPED PARTS If you need to make parts larger than the printing area of your printer or parts that have intricate projections, here are a few choices in order of popularity:
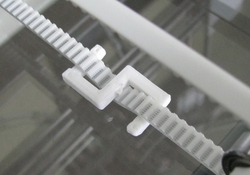
Problem: “The dimension of my part in X (or Y) is suddenly under-spec.” -or- “The sides of my round object are flat.” If your printer was known to be printing with dimensions within tolerance (meaning the settings in the firmware are good) and all of sudden parts are measuring smaller, check the tension of your drive belt. Loose belts will require the motor pulley to need to take up this little bit of slack before the extruder/print bed gets moved. This results in parts being undersized. If for some reason you have difficulties tightening your belt, try printing and attaching one of these nifty little S-clips (Thing:10082). |
Archives
August 2023
Categories |
B3D-ONLINE (AKA Build 3D online) Presented by B3D Group Sdn Bhd. Founded By Bruce Mui . Click for T&C.


 RSS Feed
